How to create a native ad item
Native ads are ads that look like editorial content. For example, a native ad on a blog looks like the other articles on the site, a native ad on Instagram is just like an Instagram post, and a native ad on a search engine looks like other search results. Native ads are also known as sponsored content or promoted posts.
AdButler gives you two ways to create native ads. Native (custom rendering/API) ad items are served in iframes, while native (styled) ad items are safe to serve directly on the page. Both require you to create native templates, but unsafe tags like <script> and <style> are removed from the HTML code of native (styled) ad items.
Templates for native (custom rendering/API) ad items are not compatible with native (styled) ad items, and vice-versa. Further, native (styled) ad items and campaigns with native (styled) ad items must be assigned only to native zones.
How to create a native (Custom Rendering/API) ad item
- Go to the section of the relevant standard or native zone (Your AdButler > Publishers > Your Publisher > Your Zone) or standard campaign (Your AdButler > Advertisers > Your Advertiser > Your Campaign).
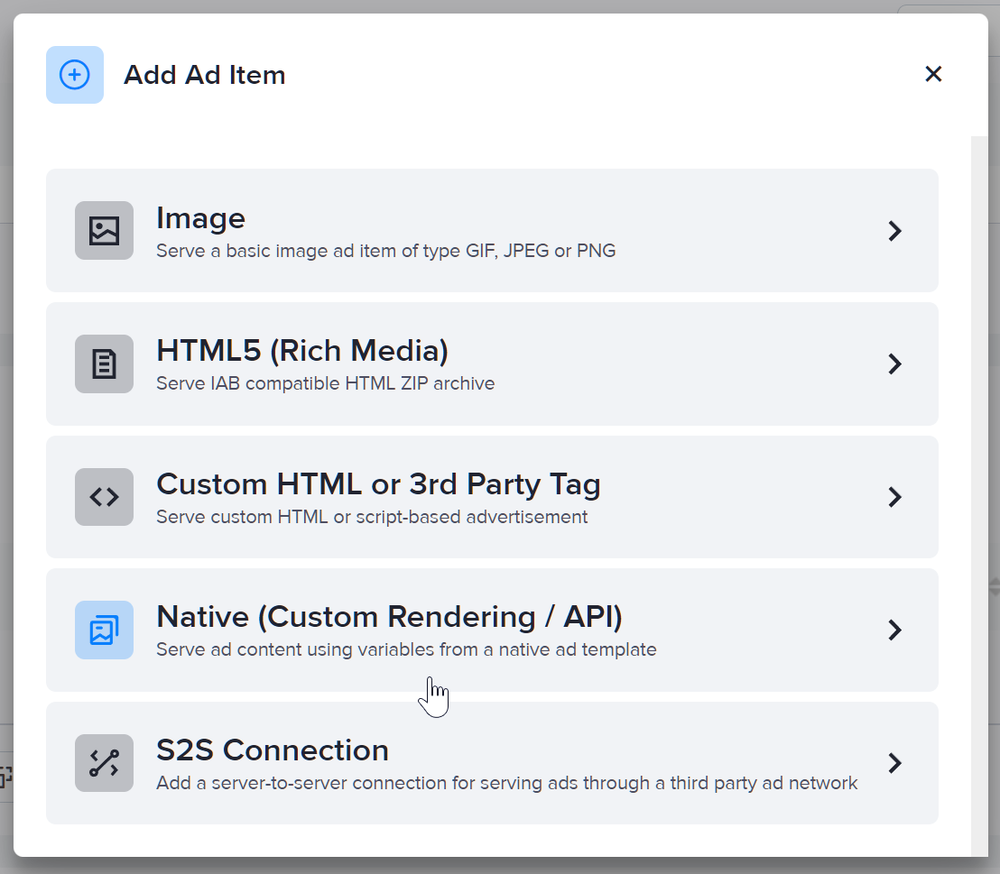
- Click Add Ad Item in the Ad Items table. The Add Ad Item window will appear.

- Click Native (Custom Rendering/API). The New Ad Item page will appear.
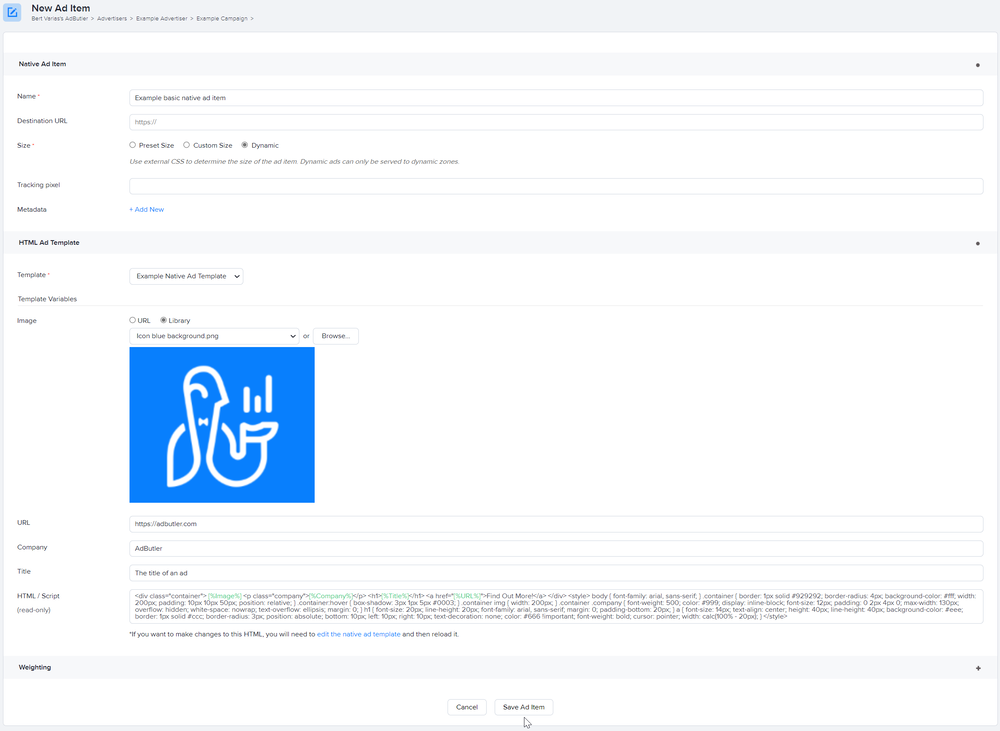
- Select your native ad template in the Template dropdown menu.
- Fill in the rest of the fields as needed. If you entered a destination URL, you can test it by clicking Open Destination URL to the right of the field.
- Click Save Ad Item.
How to create a native (Styled) ad item
- Go to the section of the relevant native zone (Your AdButler > Publishers > Your Publisher > Your Zone) or standard campaign (Your AdButler > Advertisers > Your Advertiser > Your Campaign).
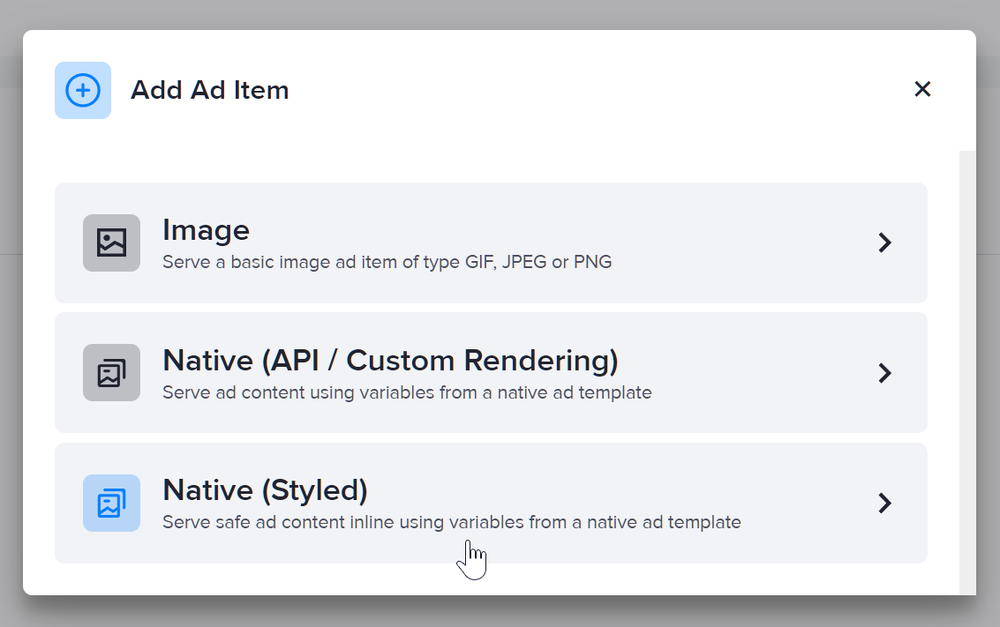
- Click Add Ad Item in the Ad Items table. The Add Ad Item window will appear.

- Click Native (Styled). The New Ad Item page will appear.
- Select your native ad template in the Template dropdown menu.
- Fill in the rest of the fields as needed. If you entered a destination URL, you can test it by clicking Open Destination URL to the right of the field.
- Click Save Ad Item.
