Pacing & schedule
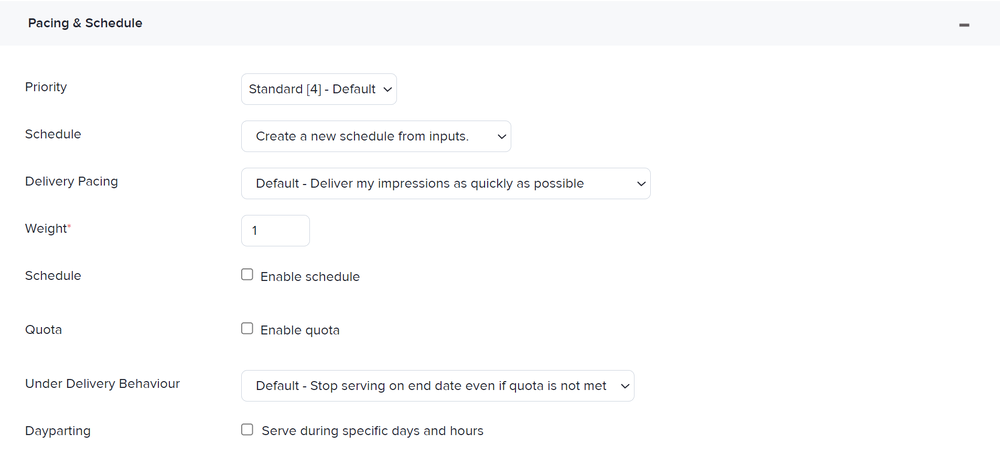
When assigning a campaign, you can use the Pacing & Schedule options to determine how quickly you would like the ads to be displayed, rank ads by priority, and add quota and date and time restrictions. These conditions are all either optional or already have default values, so you can skip them if they are not vital to your setup.

- About priority.
- About delivery pacing.
- About weight.
- About schedule and dayparting.
- How to configure the Pacing & Schedule options.
Priority
Priority dictates which ads AdButler will try to serve first. AdButler looks for valid ads assigned to the same zone starting with the ones with the highest priority, moving down to the ads with the next highest priority only when it does not find a valid ad, and so on. Priority is represented by integers from 1 to 5. The higher the number, the greater the priority. The default priority is 4.
Delivery
Delivery pacing dictates how often an ad will be served over its duration based on its quota.
Default - AdButler will try to serve the ad as often as possible to meet its quota.
Smooth Delivery - AdButler will try to evenly serve the ad based on the quota and schedule restrictions that have been set.
Daily - AdButler will try to evenly serve the ad daily based on the daily limit for views or clicks.
Weight
Weight dictates how often AdButler will try to serve an ad compared to other ads with the same priority. In other words, priority takes precedence over weight. AdButler uses the weight values you enter to determine the distribution ratio of the ads.
Let's say you have two campaigns. Campaign A has a weight of 1, while Campaign B has a weight of 20. If all their other settings are the same, Campaign A will have a 1 in 21 odds of being served, while Campaign B will have a 20 in 21 odds of being served. The default weight is 1.
If you want to quickly set the same weight for all placements and ad items in a standard campaign, read How to bulk edit weight.
Schedule and dayparting
The Schedule field is where you can set the period over which you want to run a campaign.
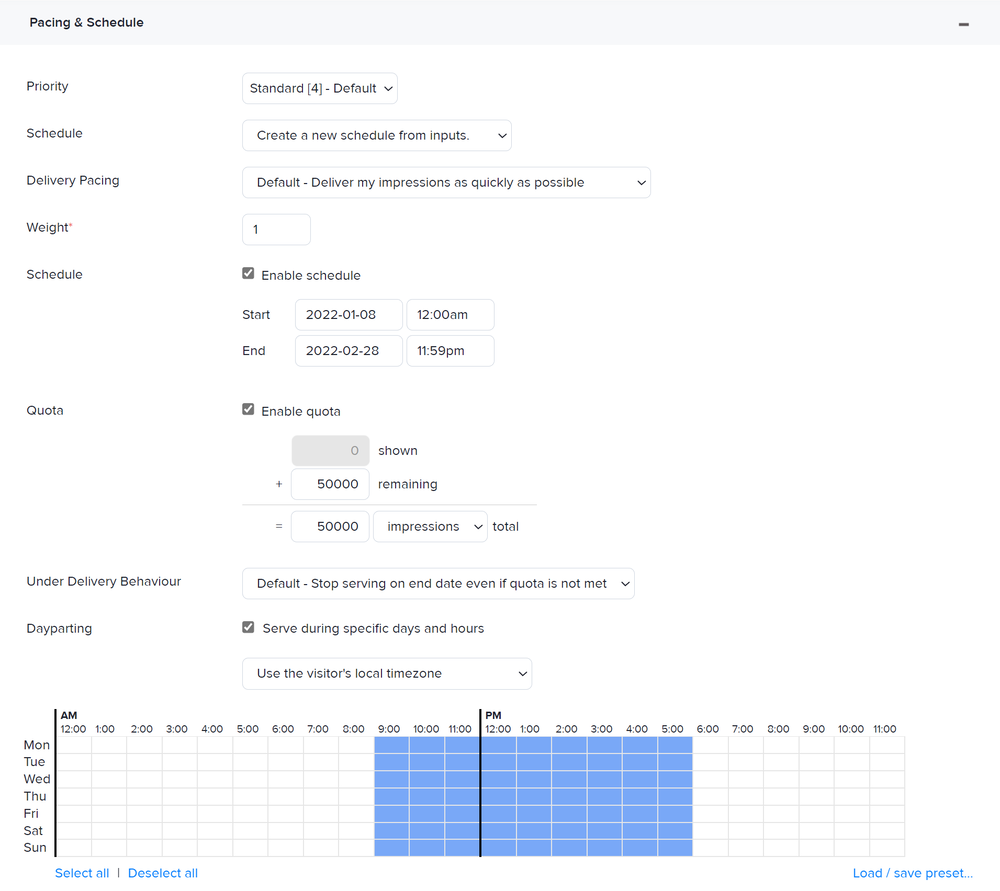
In the Assignment Details page, clicking Enable schedule will show two dropdown menus where you can set the start and end dates. A digital calendar will appear when setting the dates for your convenience. You can also copy the schedule of an existing campaign or channel using the Schedule dropdown box.
The Dayparting option lets you set days and hours within which you want to try and serve a campaign. Clicking Serve during specific days and hours will show a chart with the days of the week and hours in the day. To specify a day and time, simply click or click and drag over the cells of your desired hours. The dayparting option also has a dropdown menu where you can choose to base the day and time from the visitor's timezone, or from the timezone set in your AdButler account.
You can also create dayparting templates to quickly apply your preferred schedules to campaigns.

Configuring Pacing & Schedule for a campaign

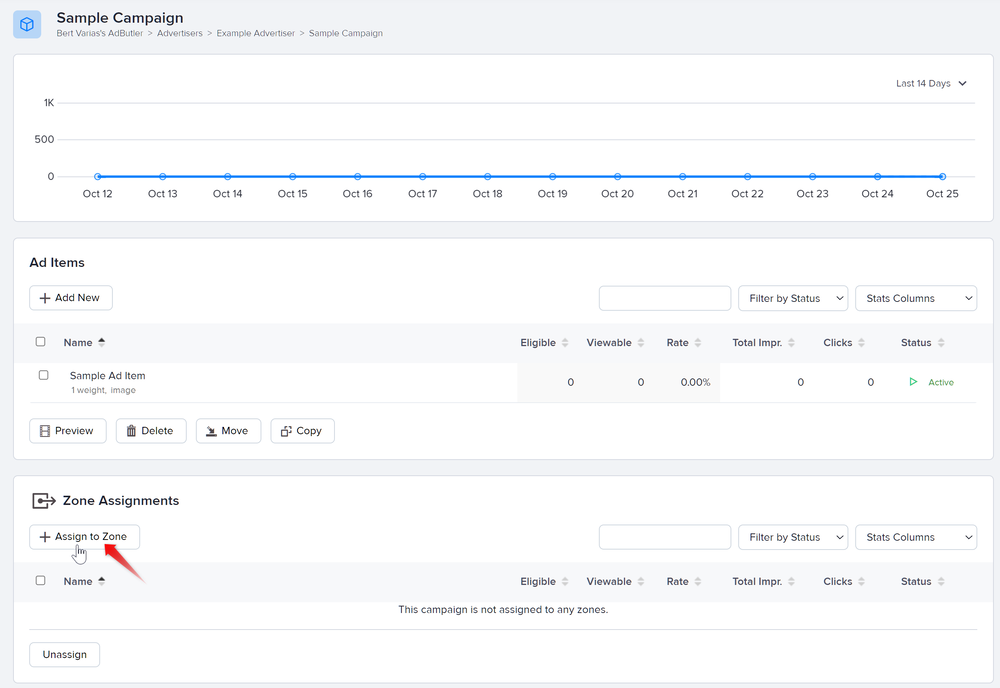
- Go to Advertisers > Your Advertiser > Your Campaign.
- Click Assign to Zone under the Zone Assignments table. A list of eligible zones will appear.
- Select a zone to which the campaign will be assigned. The Assignment Details page will appear.
- Select a serve method. The rest of the settings will appear.

- Set the priority.
- Select which delivery pace to use.
- Set the weight.
- Under Schedule, set the start and end dates, or select an existing schedule to copy from the Schedule dropdown box.
- Set the impression quota.
- Select an under-delivery behavior.
- Under Dayparting, set the days and hours in which AdButler will try to serve the ad.
- Configure the remaining settings.
- Click Save.