Roles for user accounts
Roles is an optional feature that lets you create templates of permissions, which are called roles. It's perfect for setups that have numerous user accounts. Instead of manually setting the permissions of each user account, you create roles and assign them to user accounts. When you edit a role's permissions, the changes are also applied immediately to the user accounts to which that role has been assigned.
- How to create a role.
- How to edit a role.
- How to delete a role.
- How to assign a role to a user account.
How to create a role
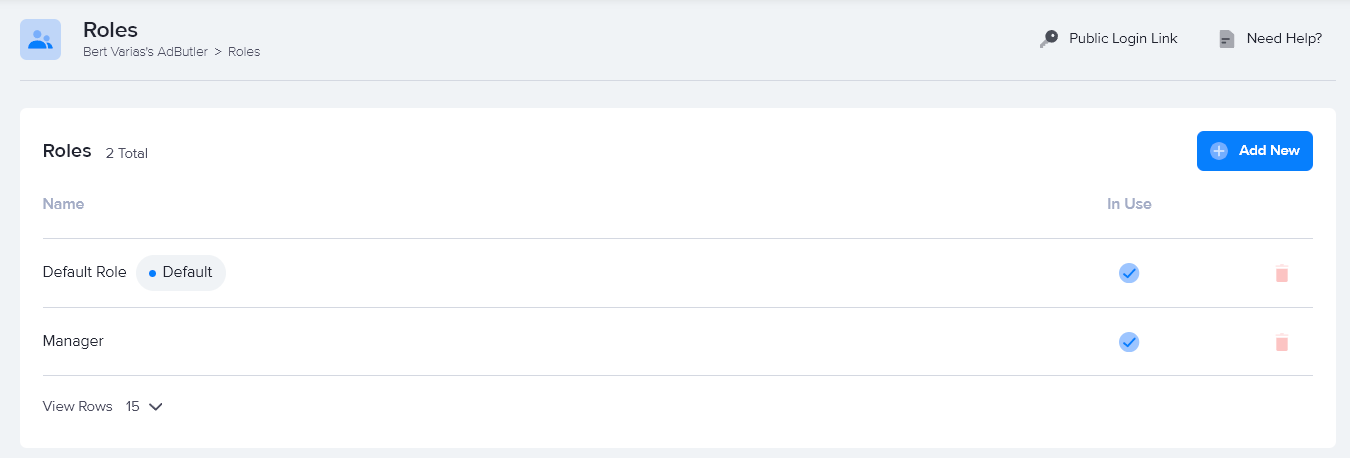
- Click Roles on the left navigation menu. The Roles section will appear.

- Click Add New.
- Name the new role then click Create Role.
- Set the new role's permissions as needed.
- Click Save Changes.
You will be taken back to the main Roles section, and the new role will be added to the interactive table of existing roles.
How to edit a role
- Click Roles on the left navigation menu. The Roles section will appear.

- Click on a role's name. The role's permission settings will appear.
- Edit the role's permissions as needed.
- Click Save Changes.
How to delete a role
- Click Roles on the left navigation menu. The Roles section will appear.

- Click on the red trash can icon at the far right of the role you want to delete. A confirmation window will appear.
- Click Remove Role Permanently.
How to assign a role to a user account
When you have roles enabled, you will not be able to manually configure the permissions of a user account. You must assign a role to a user account when you create it. You can, however, change the role assigned to an existing user account.
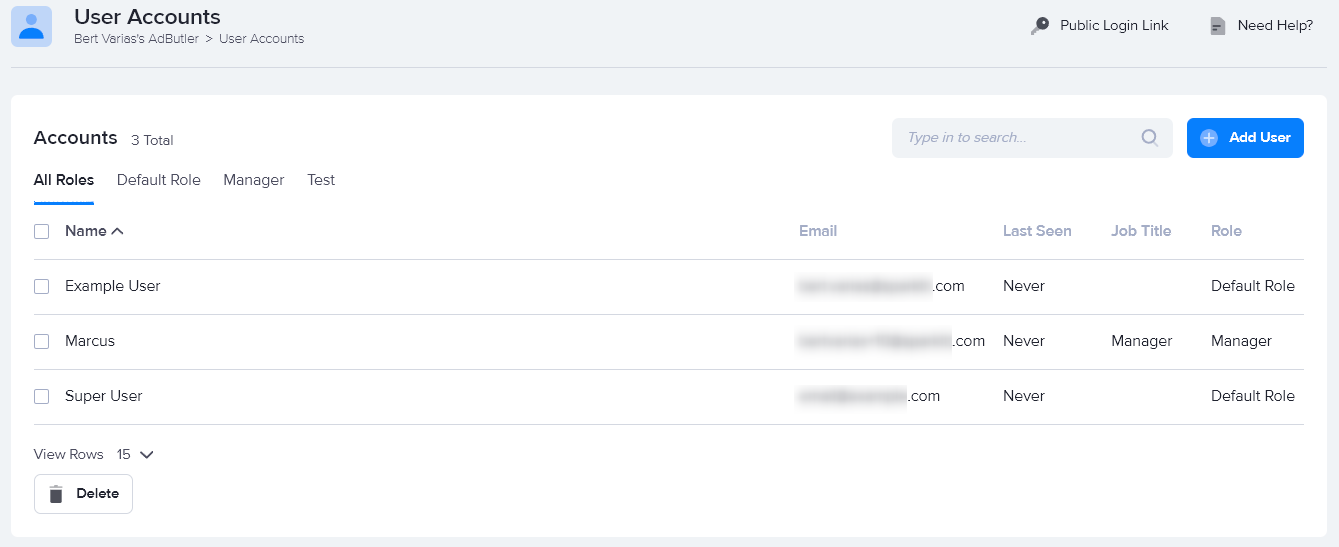
- Click User accounts on the left navigation menu. The User accounts section will appear.

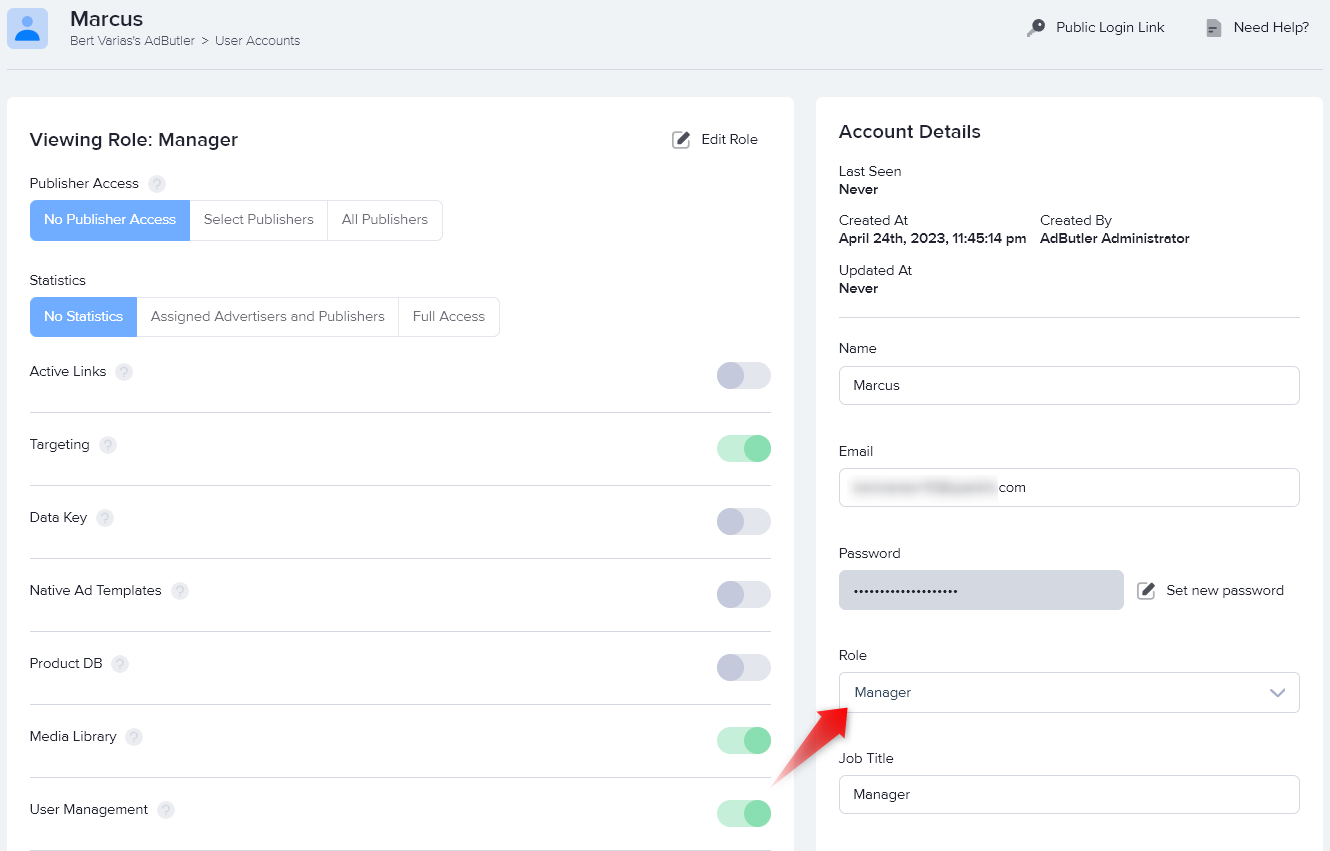
- Click on the name of a user account. The user account's edit page will appear.
- Under Account Details, click on the Role dropdown menu and select the relevant role.

- Click Save Changes.