How to create a channel
This guide will show you how to create and use channels. You will learn:
These steps apply to both standard and VAST channels, except for their respective links in the left navigation menu.
Step 1: Create a channel
- Click on Channels on the left navigation menu. The Channels section will appear. If you want to create a VAST channel, click on VAST Channels instead.

- Click Add Channel. The Create Channel window will appear.
- Enter a name for the channel.
- Set the priority for the channel. This priority will apply to the entire channel, which means this will matter only if you have multiple channels assigned to the same campaigns.
- Click Save.
Step 2: Assign a zone to the channel
Standard zones can be assigned only to standard channels, while VAST zones can be assigned only to VAST channels.
- Go to the section of the channel to which you want to assign zones (Channels > Your Channel or (VAST Channels > Your VAST Channel).
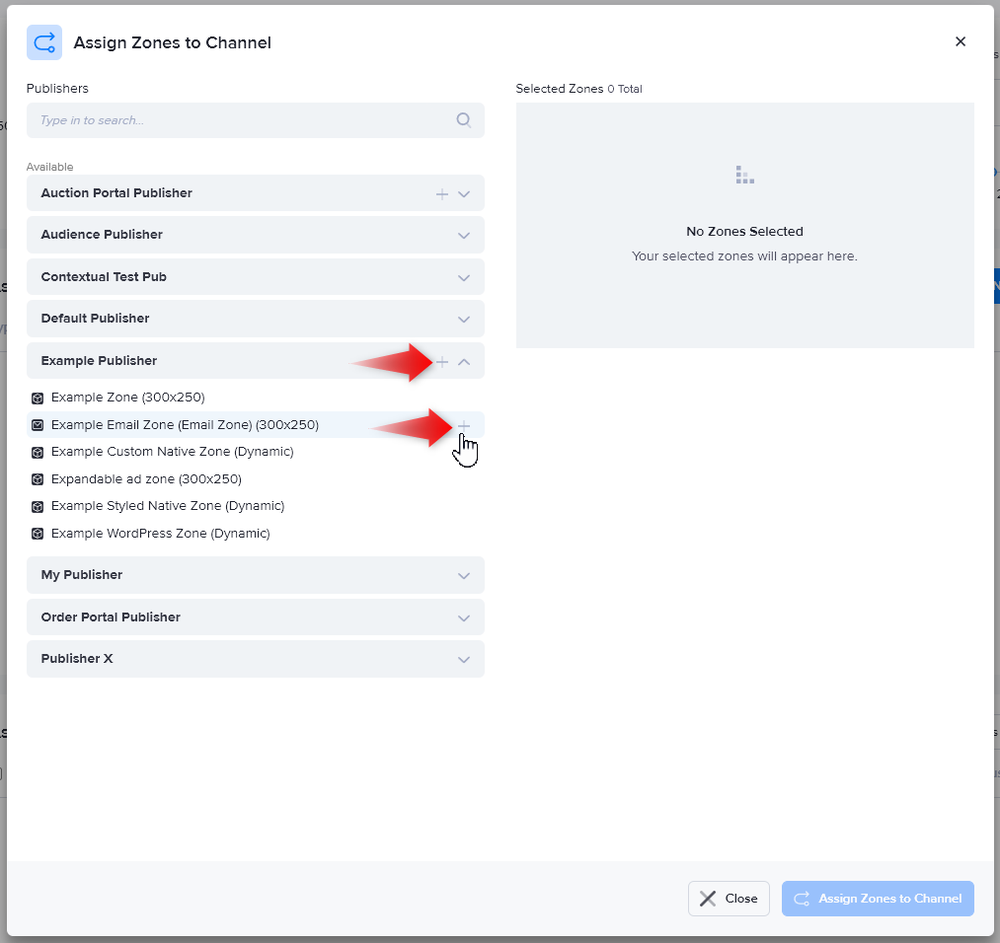
- Click Add New above the table of assigned zones. The Assign Zones to Channel window will appear.
- Type the relevant publisher's name on the search box or click on the publisher dropdown menus on the left side of the window to search for the relevant zones.
- Click on the + sign beside a zone's name to select that zone. You can also click on the + sign beside a publisher name to quickly select all of that publisher's zones.

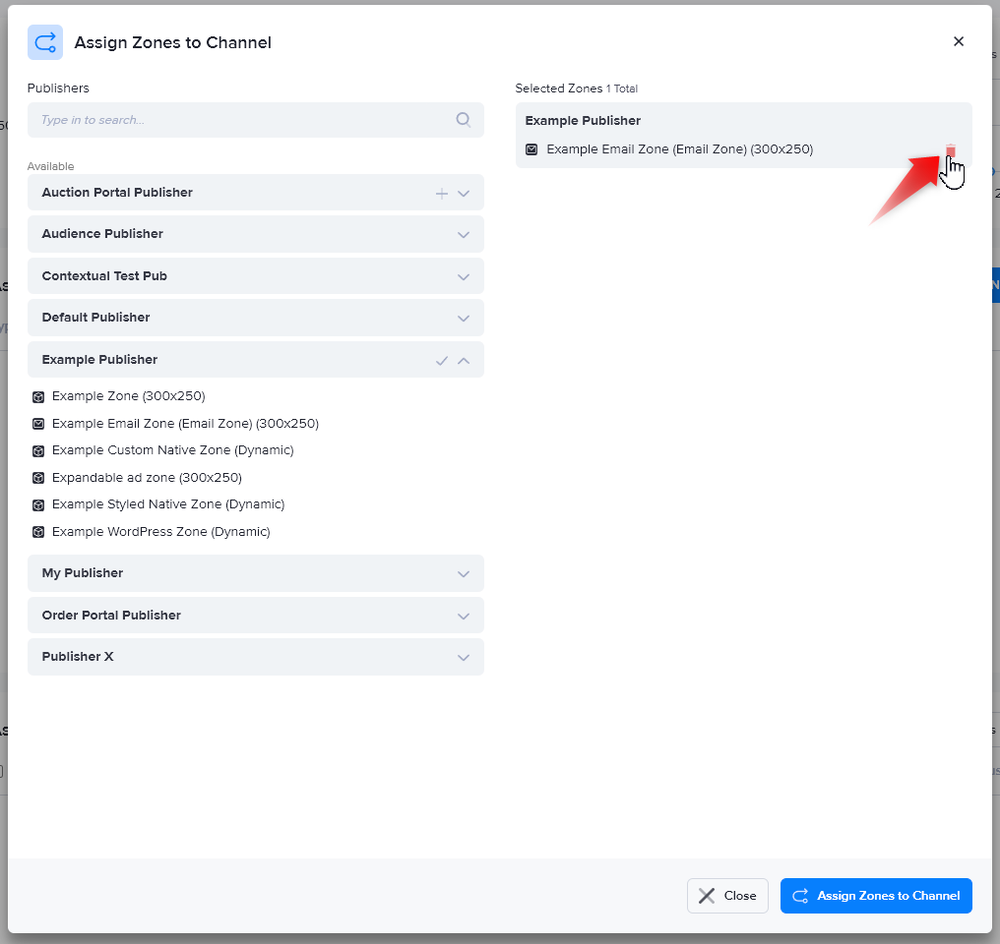
- Repeat steps 3 and 4 as needed. The zones you selected will be listed on the right side of the window. You can deselect a selected zone by clicking on the red trash can icon that appears when you hover over the zone's name.

- Click Assign Zones to Channel. You will be brought back to the channel section, where you will see that the table of assigned zones has been updated accordingly.
Step 3: Assign a campaign to the channel
Standard campaigns can be assigned only to standard channels, while VAST campaigns can be assigned only to VAST channels.
- Go to the section of the campaign you want to assign (Your AdButler > Advertisers > Your Advertiser > Your Campaign ).
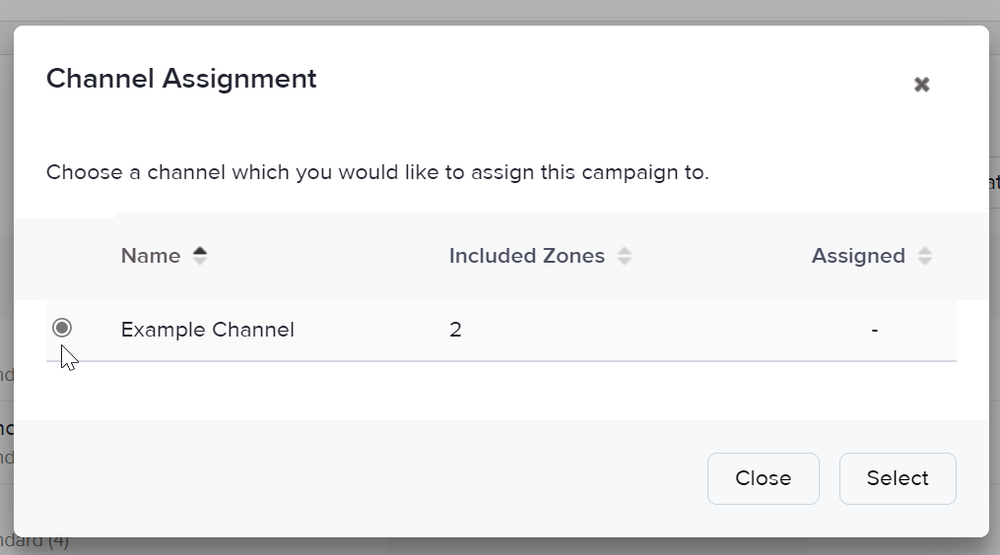
- Click Assign to Channel above the table of channels. The Channel Assignment window will appear.
- Click on the radio button to the left of the channel name.

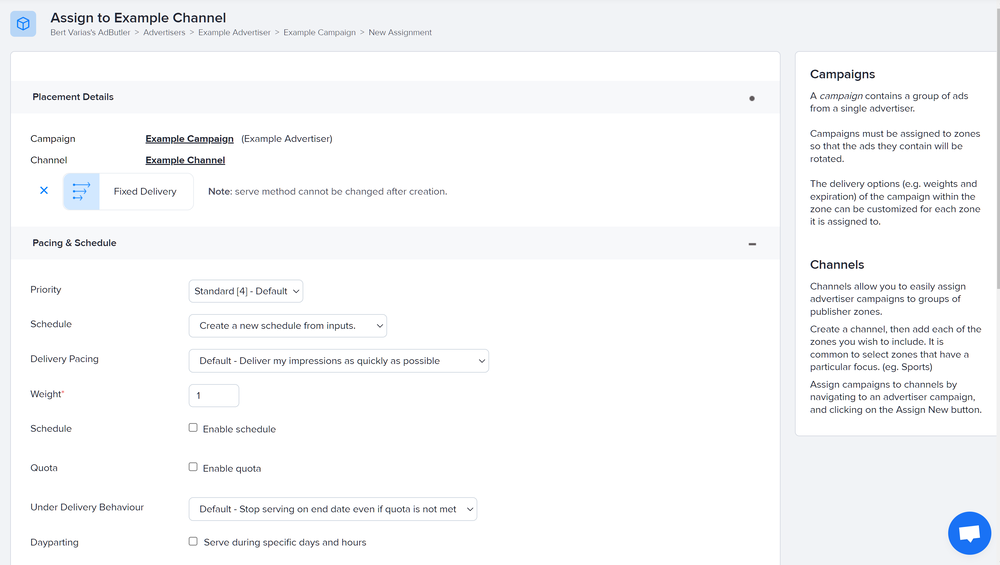
- Click Select. The assignment page will appear.

- Select a serve method. For more information, read Serve Method Options.
- The rest of the assignment details fields will appear. Fill them in as needed. For more information, read Pacing & Schedule, Financial settings, Frequency Capping, and Targeting.
- Click Save Campaign. You will be taken back to the campaign section, where you will see that the Channels table has been updated accordingly.
To unassign a campaign from a channel, simply click on the channel's name from the Channels table then click Unassign.
Campaigns that are assigned to channels will be served only to zones that have the same size; if there is no match, no ads will be served.
It is possible to assign a campaign to a channel more than once using different assignment configurations, but the statistics from each assignment will be combined.
You can assign as many campaigns and zones as you want to a channel. When you add a new zone to the channel, all your existing assignments and their settings will be automatically applied to that zone.