Platform & device targeting
You will learn:
- How platform and device targeting works.
- How to create platform targets in the Targets section.
- How to create platform targets in the assignment page.
- About the parameters that you can customize.
- How to assign an existing platform target.
- How to set up paired-zone targeting for email and VAST ads.
How platform targeting works
Apps and browsers have an identifying string called a user agent that contains information about the device and operating system on which they are running. This is also how browsers identify themselves. AdButler uses the user agent provided by the viewer's device to target ads by platform (mobile device or desktop computer), device, or both.
Creating a platform target in the Targets section
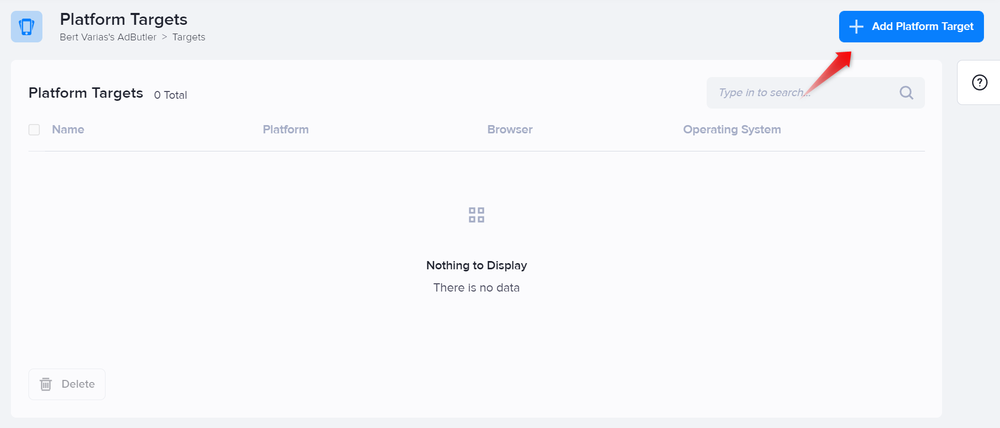
- Click on Targets in the left navigation menu to go to the Targeting menu.
- Click Manage Platform Targets. The Platform Targets subsection will appear.
- Click Add New Platform Target. The New Platform Target window will appear.
- Give the target a name.
- Specify the targeting parameters. For more information, read Platform target parameters.
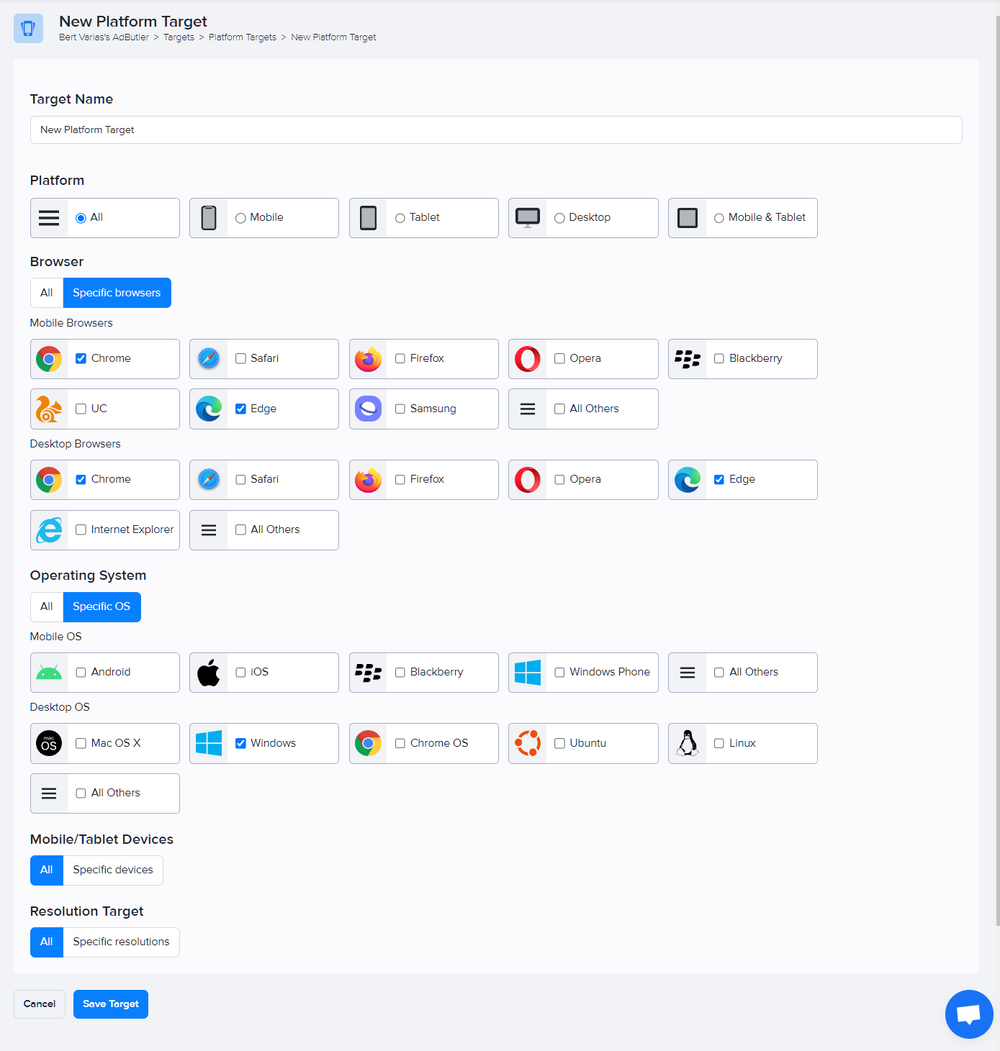
- Click Save Target. You will be taken back to the main Platform Targets subsection, where your newly created platform target will be listed, including its general parameters: the platform (desktop, mobile or any), selected browsers, and operating systems.

Creating a platform target in the assignment page
- Go to the relevant campaign's dashboard (Advertisers > Your Advertiser > Your Campaign).
- Click Assign to Zone on the top right of the Zone Assignments table. A list of eligible zones will appear.
- Select a zone to which the campaign will be assigned. The Assignment Details page will appear.
- Select a serve method. The rest of the settings will appear.
- Set the initial settings as needed, then scroll down to the bottom of the page. Click Targeting to expand its settings.

- Click +Add Platform Target to the right of the Postal Code dropdown menu. The New Platform Target window will appear.
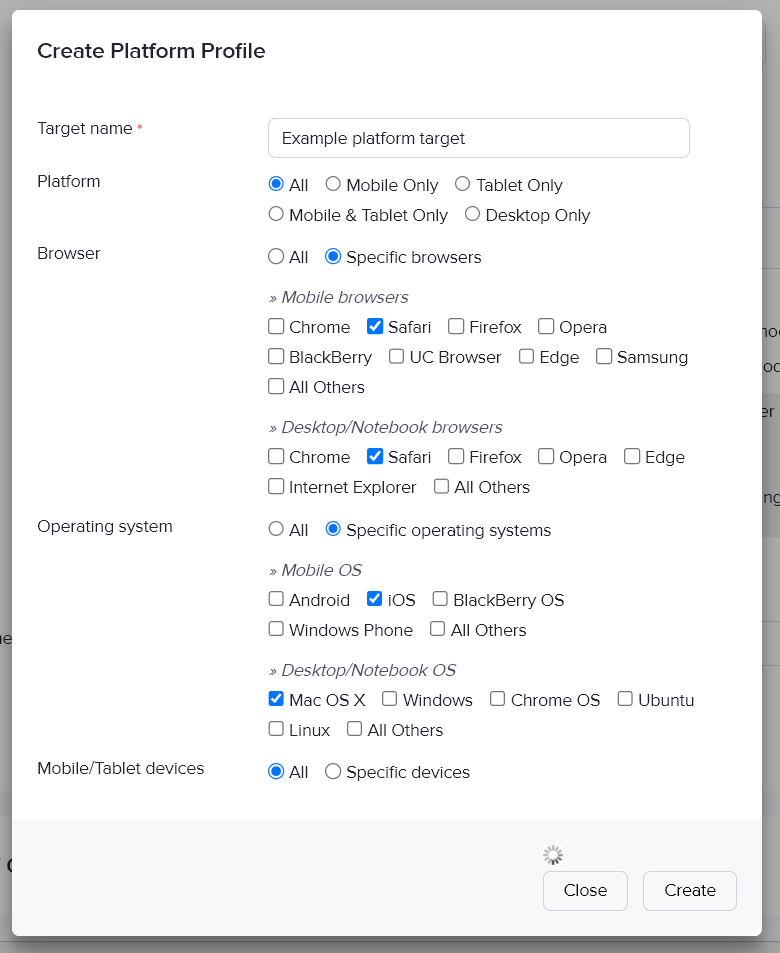
- Give the target a name.
- Specify the targeting parameters. For more information, read Platform target parameters.
- Click Create.
- Continue configuring the assignment.
- Click Save at the bottom of the page.
Platform target parameters
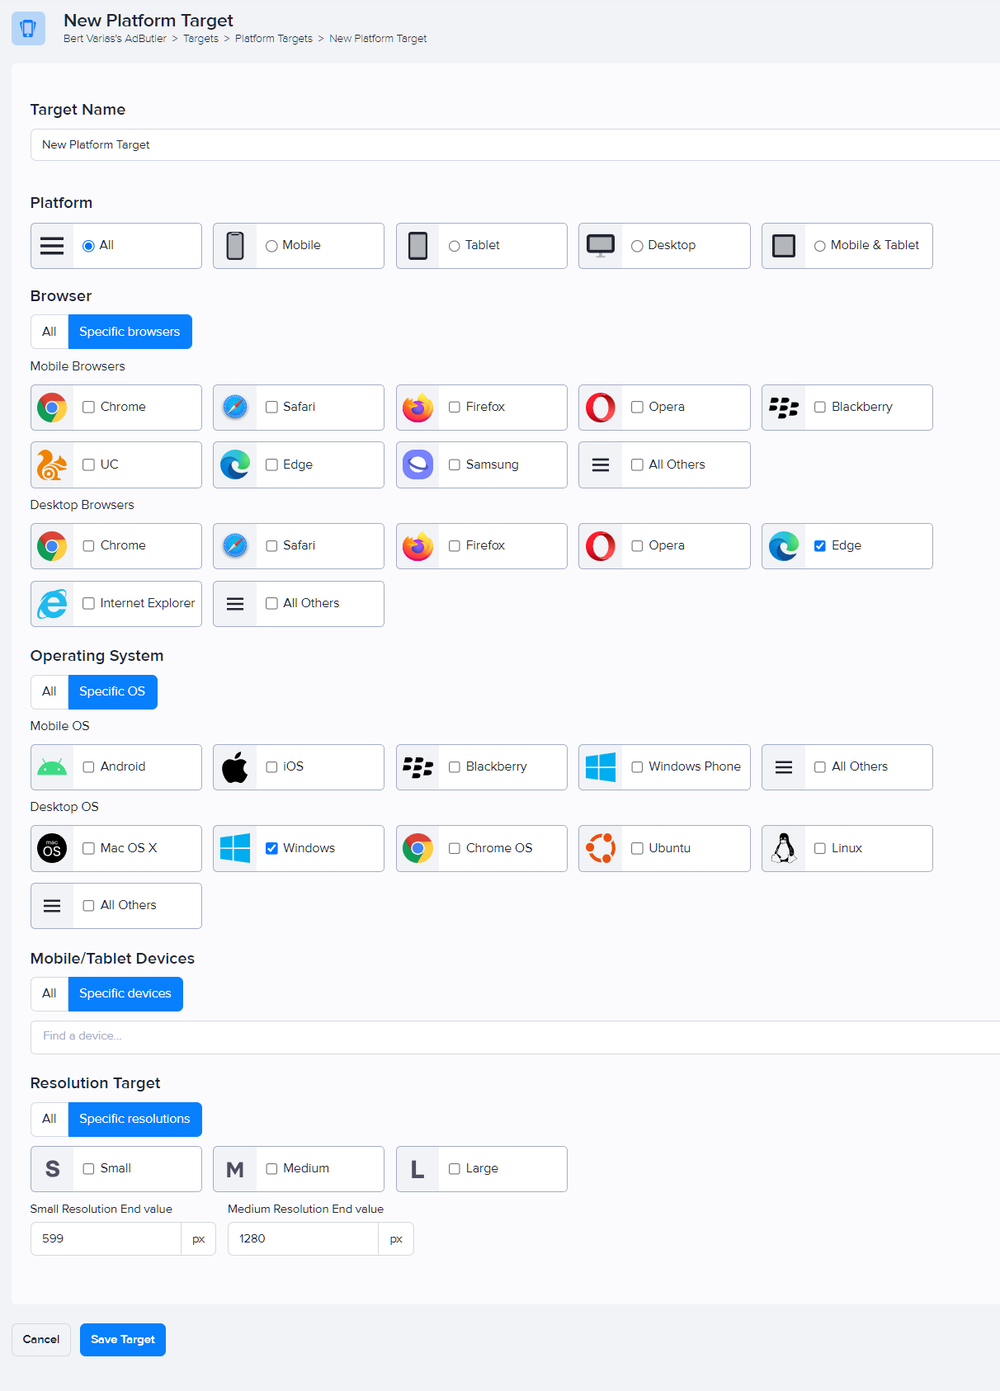
Selecting All under Platform will let you customize the following parameters:
Browser - When set to All, the ad or campaign will not be limited to any browser. When set to Specific browsers, a list of browsers will appear. Click on one or more browsers to limit ad serving to only those browsers. There are separate items for desktop browsers and mobile browsers.
Operating System - When set to All, the ad or campaign will not be limited to any operating system. When set to Specific OS, a list of operating systems will appear. Click on one or more systems to limit ad serving to only those browsers. There are separate items for desktop systems and mobile systems.
Mobile/Tablet Devices - When set to All, the ad or campaign will not be limited to any mobile device. When set to Specific devices, a search field will appear. Enter the name of the devices to target, then select their names from the search results.
- Resolution Target - When set to All, the ad or campaign will not be limited to any screen resolution. When set to Specific resolutions, a list of options and fields will appear. Choose one or more resolution ranges: Small, Medium, and Large. Beside the size limit fields are the default values of these ranges. You can change those values by entering new maximum dimensions for Small and Medium in their respective fields.
For example, entering 1280 as the new end value for Small means the platform target will consider resolutions between 0 to 1280px as Small.
Assigning a platform target
- Go to the relevant campaign's dashboard (Advertisers > Your Advertiser > Your Campaign).
- Click Assign to Zone on the top right of the Zone Assignments table. A list of eligible zones will appear.
- Select a zone to which the campaign will be assigned. The Assignment Details page will appear.
- Select a serve method. The rest of the settings will appear.
- Set the initial asssignment settings as needed.
- Scroll down to the bottom of the assignment settings then click Targeting to expand the targeting settings.
- Select a platform target in the Browser & OS dropdown menu.

- Continue configuring the assignment.
- Click Save at the bottom of the page.
Set up paired-zone targeting in email and VAST ad zones
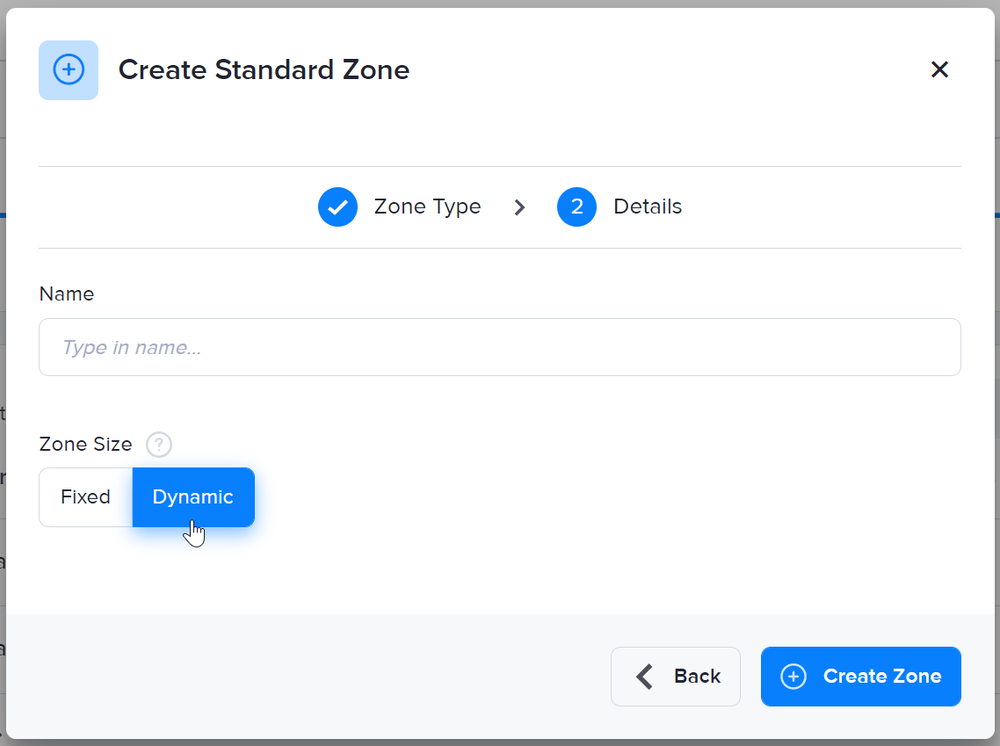
Advertisers often have both mobile and desktop variants of the same ad. For image, HTML5, rich media, or programmatic ads, you can simply create a Standard zone and set its size to Dynamic. This will make the ad automatically resize based on the viewer's screen.
For email and VAST ad items, you can use platform targeting to stack two ad zones - one for each platform - then set it so that only the ad corresponding to the viewer's platform will appear. This also allows you to keep mobile and desktop stats separate, and properly track your users.