How to make styled native in-image ads
In-image ads are ads that appear over an image that is part of the page's content. They can be as simple as text or an image, or have interactive content that appear when the viewer hovers their mouse over the ad or clicks on it. You can use native templates to create in-image ad items that are tailored to your needs.
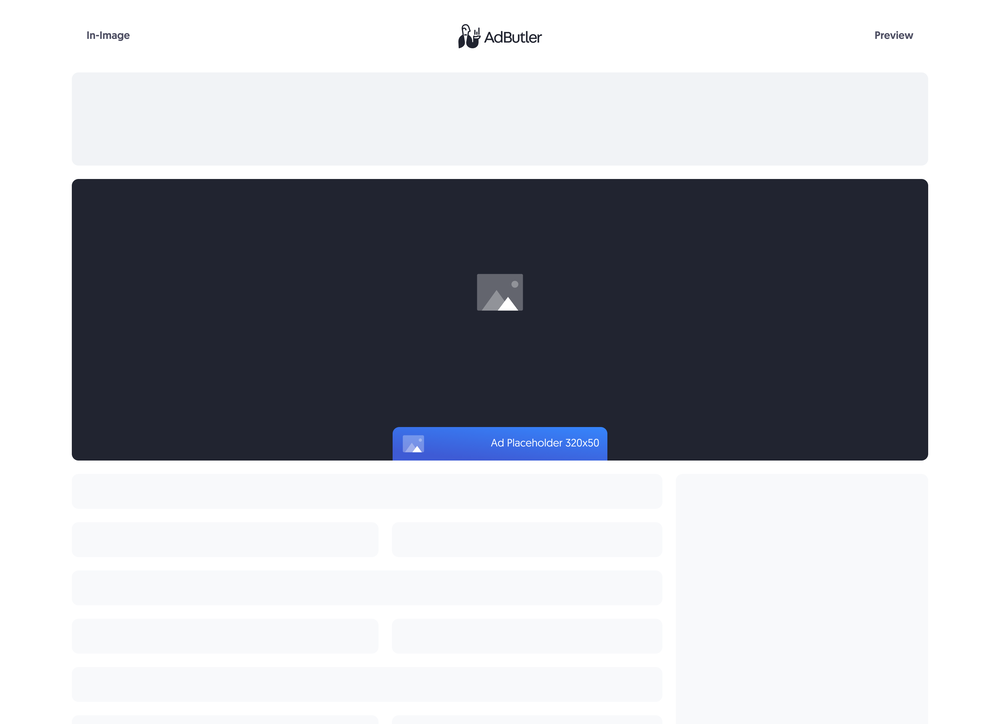
If you'd rather have all the necessary code (HTML, JavaScript and CSS) in the template, you should make your in-image ad using a custom native ad template instead. For more information on the differences between custom native ads and styled native ads, read About native ad templates.
You will learn:
- How to create a template for a styled in-image ad. You can customize the sample code to fit your needs.
- How to create a styled in-image ad item once you have a styled in-image template.
How to create a styled in-image ad template
This template will require the user to provide the URL to where the image creative is hosted when creating the in-image ad item.
- Click Templates in the left navigation menu. The Templates section will appear.
- Click Native Ad Templates. The Native Ad Templates subsection will appear.
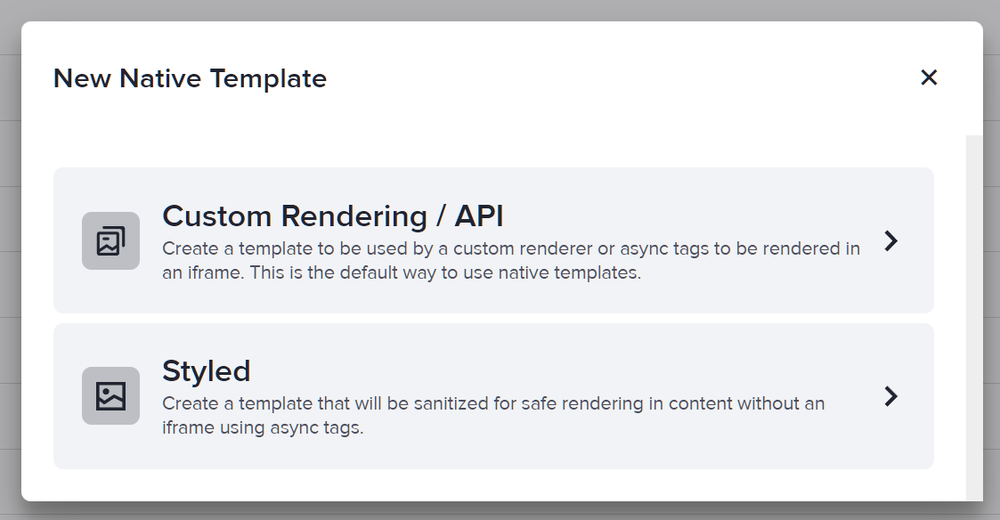
- Click Add Native Ad Template. The New Native Template window will appear.
- Click Styled. The New Native Ad Template page will appear.
- Name the template then add an image URL variable. In our sample code, we called it ImageURL.
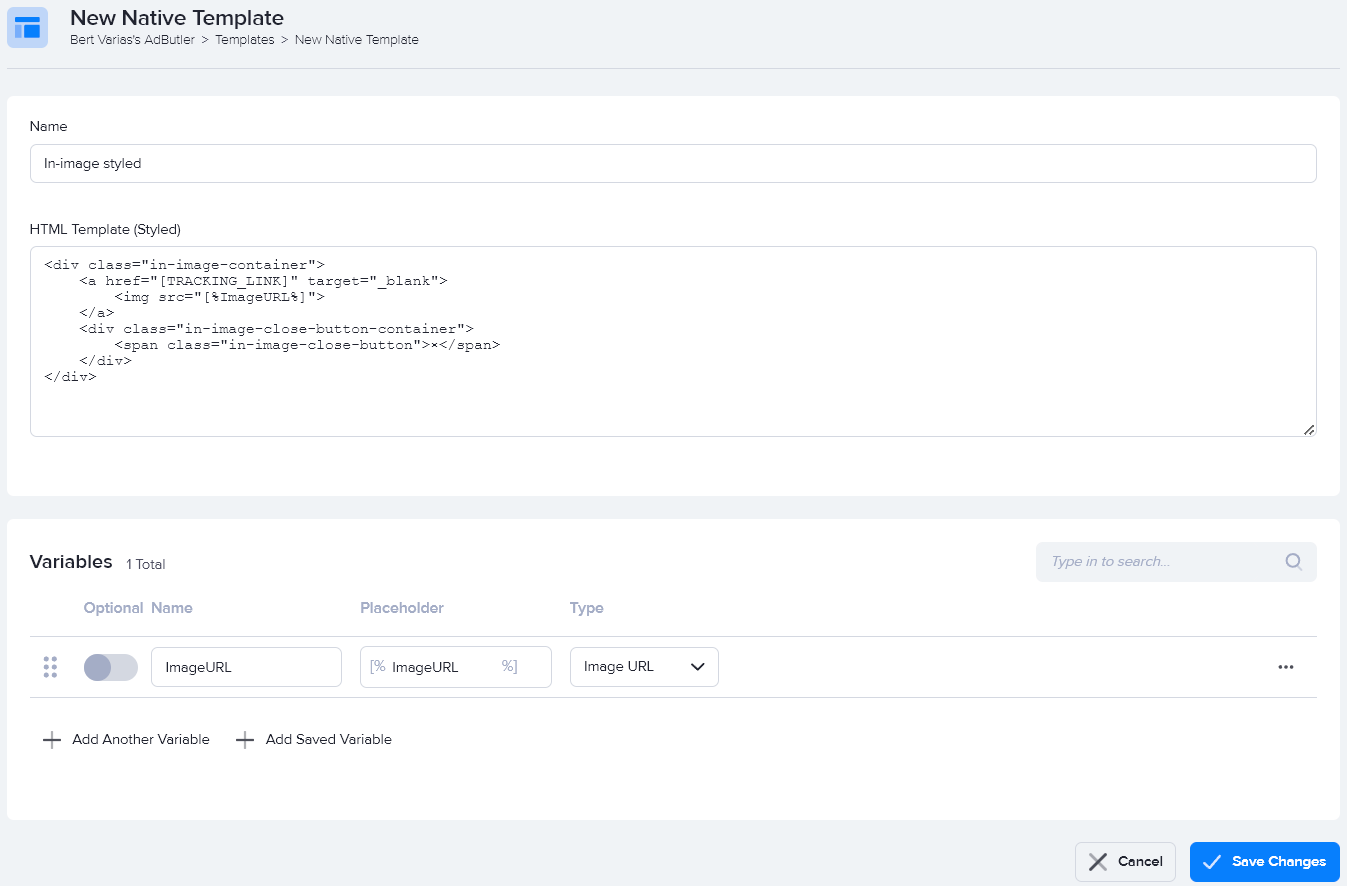
- Enter the code in the HTML Template (Styled) field, then click Save Changes.
Here's the code we used in our example:
<div class="in-image-container">
    <a href="[TRACKING_LINK]" target="_blank">
        <img src="[%ImageURL%]">
    </a>
    <div class="in-image-close-button-container">
        <span class="in-image-close-button">×</span>
    </div>
</div>
You can now use this template to create a styled in-image ad item.
How to create a styled in-image ad item
- Go to the section of the relevant zone (Your AdButler > Publishers > Your Publisher > Your Zone) or campaign (Your AdButler > Advertisers > Your Advertiser > Your Campaign).
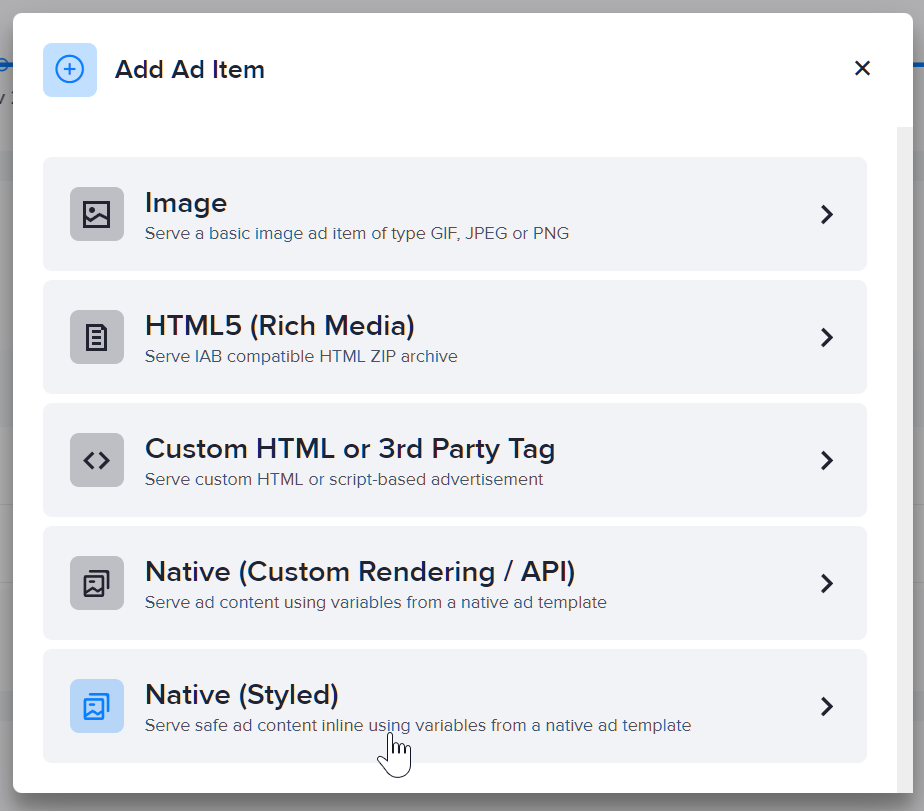
- Click Add Ad Item in the Ad Items table. The Add Ad Item window will appear.
- Click Native (Styled). The New Ad Item page will appear.
- Select your in-image styled native ad template in the Template dropdown menu.
- Fill in the rest of the fields as needed, including the image URL. If you entered a destination URL, you can test it by clicking Open Destination URL to the right of the field.
- Click Save Ad Item.
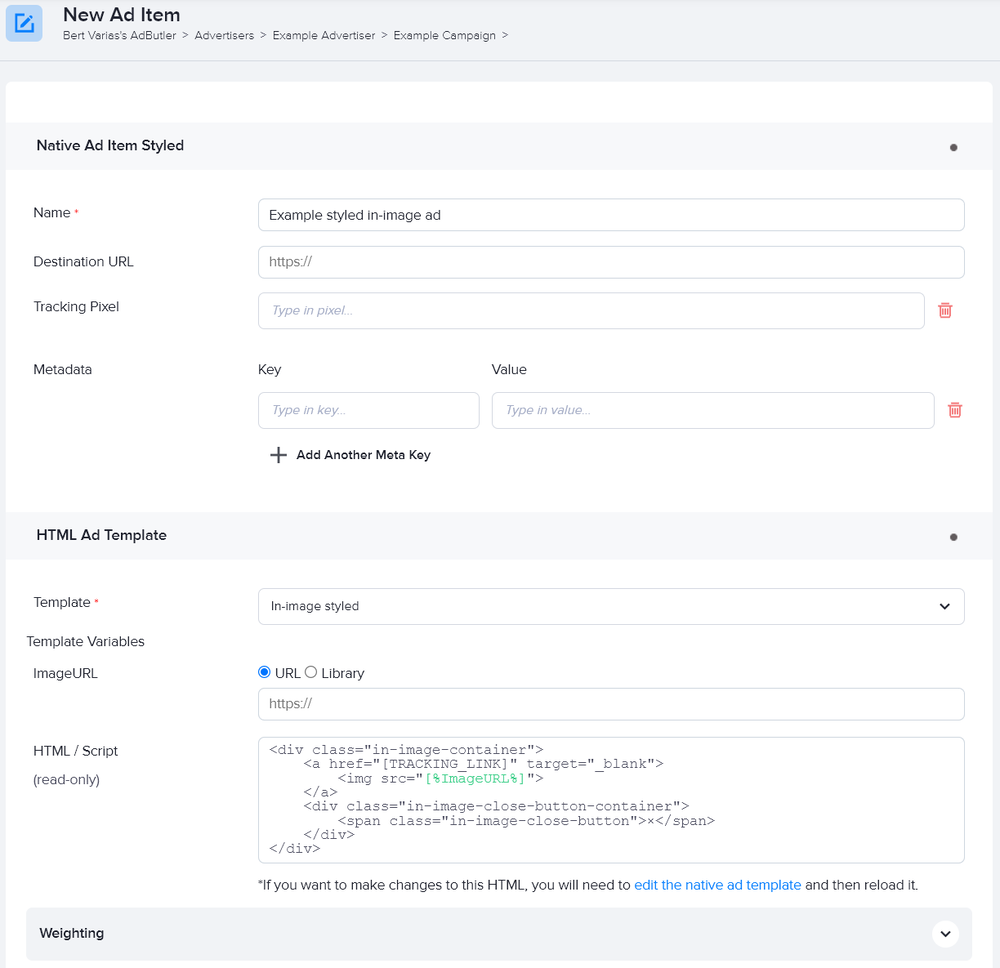
At this point, you have finished setting up the ad item on the AdButler interface. You must now add the JavaScript and style element needed to display this ad properly directly to your website. Here's the sample code that we used in our example. Replace the image source with the URL that points to the image over which the ad will be shown. You must also replace the zone tags and zone class in the code with your own zone tags and zone class.
<!DOCTYPE html>
<html lang="en">
    <head>
        <style>
            .image-container {
                position: relative;
                width: fit-content;
            }

            .in-image-container {
                width: 320px;
                height: 50px;
                position: absolute;
                left: 50%;
                transform: translate(-50%,-10%);
                bottom: 0;
            }

            .in-image-container a {
                margin: 0;
                padding: 0;
                border: 0;
                display: inline;
            }

            .in-image-container a img {
                margin: 0;
                padding: 0;
                border: 0;
            }

            .in-image-container .in-image-close-button-container {
                position: absolute;
                top: 2px;
                right: 2px;
                cursor: pointer;
            }

            .in-image-container .in-image-close-button-container .in-image-close-button {
                width: 18px;
                display: inline-block;
                text-align: center;
                color: #ffffff;
                border-radius: 18px;
                background: #000000;
                user-select: none;
            }
        </style>
    </head>
    <body>
        <!-- Your image and the zone tags must be within the same parent element -->
        <div class="image-container">
            <!-- To Edit 1: update src to your image. This is the image that ad is placed over. -->
            <img src="https://naomisimson.com/wp-content/uploads/image-placeholder.jpg">

            <!-- To Edit 2: Replace Zone Tags below here with your own -->
            <script type="text/javascript">if (!window.AdButler){(function(){var s = document.createElement("script"); s.async = true; s.type = "text/javascript"; s.src = 'https://servedbyadbutler.com/app.js'; var n = document.getElementsByTagName("script")[0]; n.parentNode.insertBefore(s, n);}());}</script>
            <div class="plc104297"></div>
            <script type="text/javascript">
                var AdButler = AdButler || {}; AdButler.ads = AdButler.ads || [];
                var abkw = window.abkw || '';
                var plc104297 = window.plc104297 || 0;
                (function(){
                    var divs = document.querySelectorAll(".plc104297:not([id])");
                    var div = divs[divs.length-1];
                    div.id = "placement_104297_"+plc104297;
                    AdButler.ads.push({handler: function(opt){ AdButler.register(######, ######, [0,0], 'placement_104297_'+opt.place, opt); }, opt: { place: plc104297++, keywords: abkw, domain: 'servedbyadbutler.com', click: 'CLICK_MACRO_PLACEHOLDER' }});
                })();</script>
            <!-- Replace Zone Tags above here with your own -->
        </div>

        <!-- Below script makes the close button function -->
        <script>
            AdButler.ads.push(function () {
                // To Edit 3: Update this class with your zone's class
                var zoneClass = 'plc104297';
                var wrapper = document.querySelector('.' + zoneClass);
                wrapper.addEventListener(AdButler.EVENTS.LOAD, function (e) {
                    var closeButton = document.querySelector('.' + zoneClass + ' .in-image-close-button');
                    closeButton.addEventListener('click', function () {
                        document.querySelector('.' + zoneClass + ' .in-image-container').style.display = 'none';
                    });
                });
            });
        </script>
    </body>
</html>