Ad source targets
Ad sources allow you to tag and identify multiple instances of the same catalog zone. Aside from separating the metrics of those zone instances in reports, ad sources can also be used as a targeting filter.

How to create an ad source target
- Go the section of the relevant publisher (Your AdButler > Publishers > Your Publisher).
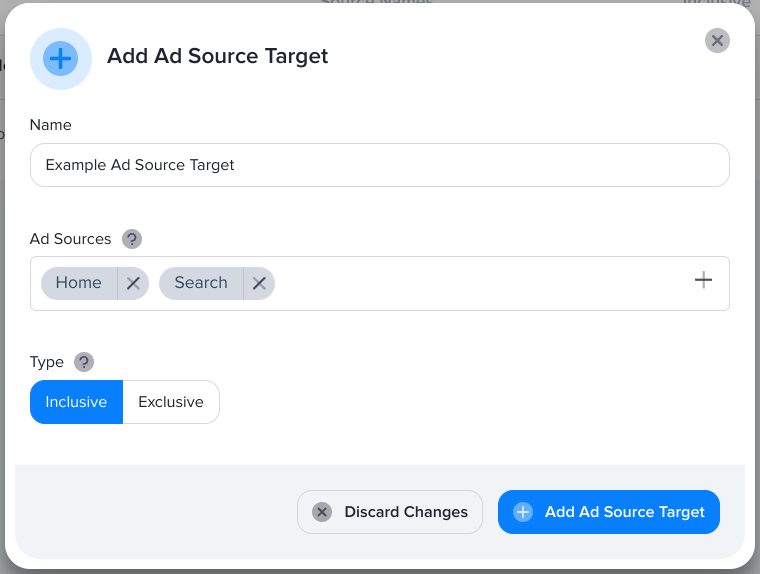
- Click Ad Sources on the top right, then click Publisher Ad Source Targets. The Ad Source Targets page will appear.
- Click Add Ad Source Target.

- Name the target.
- Select the ad sources that you want to use.
- Select the target's type.
- Inclusive - the ads will be shown only in the selected zone instances.
- Exclusive - the ads will not be shown in the selected zone instances.
- Click Add Ad Source Target.
How to use an ad source target
Ad sources and ad source targets are specific to a publisher. When assigning a campaign to a zone, only the ad source targets created for that publisher can be selected. Ad sources and ad source targets can be used only in catalog zones.
- Go the section of the relevant campaign (Your AdButler > Advertisers > Your Advertiser > Your Campaign).
- Click Assign to Zone on the top right of the Zone Assignments table. A list of eligible zones will appear.
- Click on the checkmark beside the relevant catalog zone. The Assignment page will appear.
- Click on the Targeting section to expand it.
- Click on the Ad Source dropdown and select the relevant ad source target.

- Configure the rest of the campaign as needed. For more information, read Serve method options, Pacing & Schedule, Financial settings, Frequency Capping, and Targeting overview.
- Click Save.